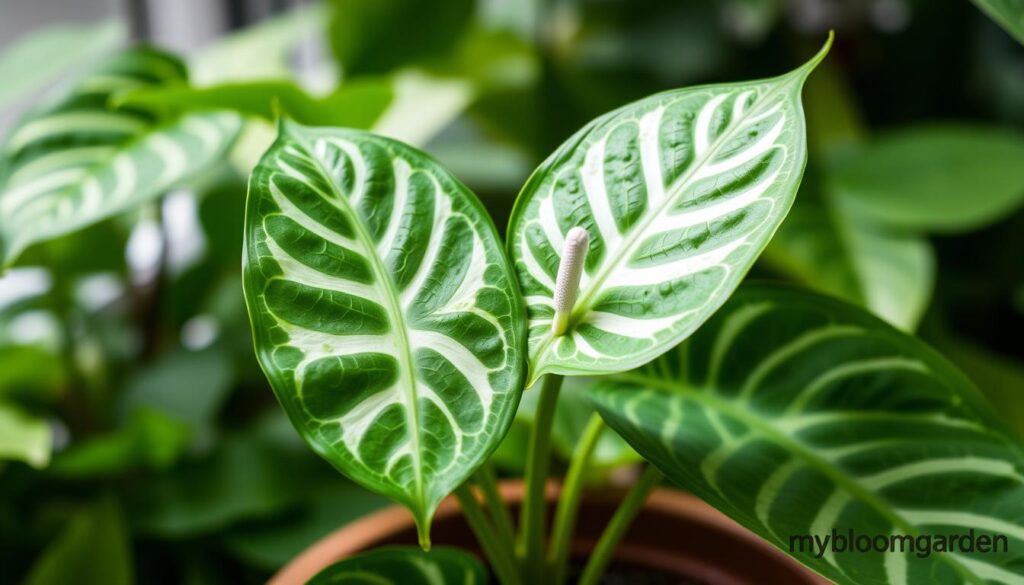
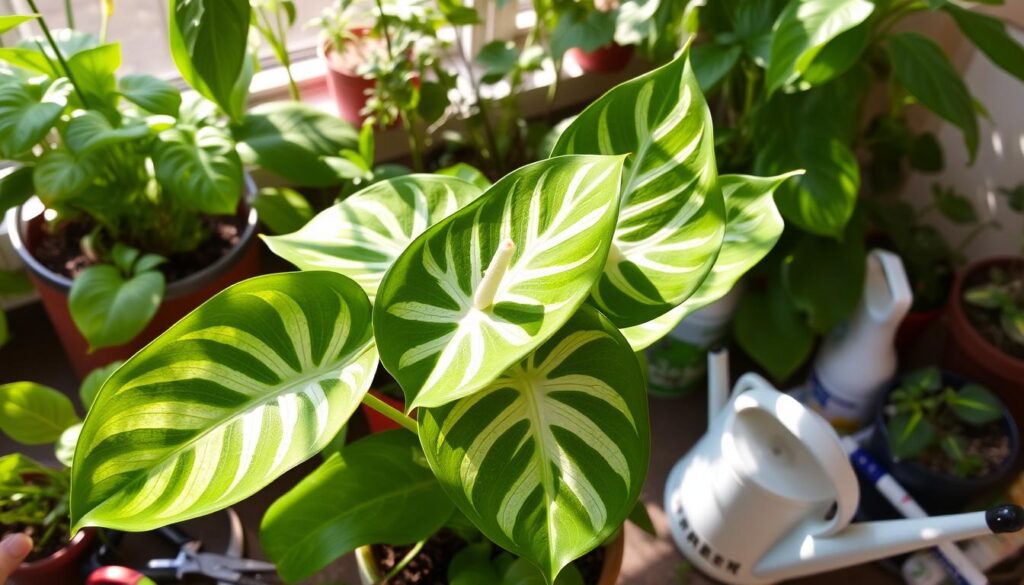
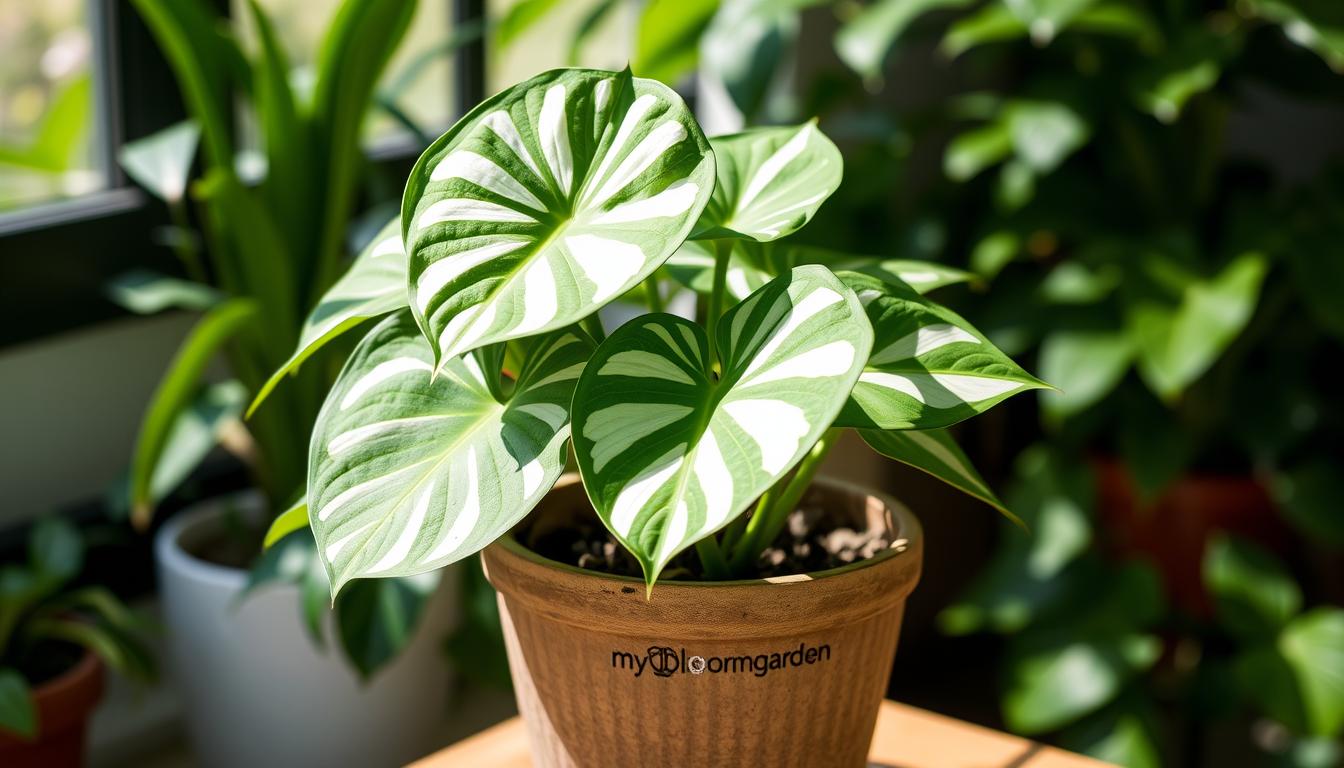
I’ve always been drawn to the Anthurium clarinervium, a beautiful tropical houseplant. It’s known for its soft, heart-shaped leaves. This plant, also called the “velvet cardboard plant,” is loved for its beauty and unique care needs.
If you love plants or are starting your indoor garden, this guide is for you. It will teach you how to grow a healthy Anthurium clarinervium at home.
Table of Contents
Introduction to Anthurium Clarinervium
Explore the enchanting world of the Anthurium clarinervium, a tropical plant loved by indoor gardeners worldwide. Known as the velvet cardboard plant, it comes from Mexico’s lush forests. There, it thrives in its natural home.
Origin and Natural Habitat
The Anthurium clarinervium comes from Mexico’s tropical areas. It grows well in the rainforests’ rich, humid environments. You can find it on tree trunks, enjoying the sunlight that filters through the leaves.
Unique Features and Characteristics
The Anthurium clarinervium stands out with its heart-shaped leaves. These leaves are large and velvety, with white veins against deep green. It loves low light, making it perfect for indoor spaces.
Why Choose This Velvet Leaf Beauty
The Anthurium clarinervium is a standout choice for indoor gardens. Its big, textured leaves and adaptability to different lights make it a bold addition. It brings tropical beauty to any room, whether at home or in the office.
Essential Growing Requirements
Caring for an Anthurium clarinervium needs a good understanding of its growing needs. Light, temperature, soil, and watering are all key to its health and beauty.
Anthurium clarinervium loves bright, indirect sunlight. Give it 6-8 hours of filtered light each day. Direct sunlight can burn its leaves. Keep the temperature between 65°F to 85°F for best growth.
- Use a soil mix with peat moss, orchid bark, perlite, worm castings, bone meal, and horticultural charcoal.
- Water when the top inch of soil is dry. Make sure not to drown the roots.
- Keep humidity at 60-80% to match its tropical home.
By following these growing tips, your Anthurium clarinervium will flourish. It will add beauty to your space.
Light and Temperature Needs
Understanding the light and temperature needs of your Anthurium clarinervium is key. This beautiful houseplant does best in the right conditions. Let’s look at the best light and temperature for it to grow well.
Optimal Light Conditions
Anthurium clarinervium loves bright, indirect light. It’s best to put it in a sunny spot but not in direct sunlight. This can burn the leaves. A window with filtered light is perfect.
Temperature Range for Healthy Growth
These plants do well in warm temperatures, between 65°F and 85°F. Keeping this range ensures your plant stays healthy. Don’t let it get too cold or hot, as this can harm the leaves.
Protecting from Temperature Fluctuations
To keep your Anthurium clarinervium safe from temperature changes, follow these tips:
- Don’t put the plant near air conditioning, heaters, or drafty windows.
- Keep it away from direct sunlight and heat sources to prevent wilting and discoloration.
- In cold months, move it to a warmer spot or use a heater if needed.
By keeping the light and temperature right, you’ll create a great home for your Anthurium clarinervium. It will thrive and add beauty to your indoor plants.
Soil and Potting Requirements
Growing Anthurium clarinervium requires the right soil and potting conditions. This plant loves well-draining, aerated soil that feels like its natural home. Here are some tips for the best soil and potting setup:
Soil Composition: Anthurium clarinervium needs soil rich in organic matter. Mix peat moss, bark chips, perlite, or vermiculite for the best results. This mix keeps the soil draining well but still moist enough for the roots.
Pot Selection: Pick a pot with lots of drainage holes to avoid waterlogged soil. The pot should be a bit bigger than the plant’s roots to give it room to grow. Terracotta or plastic pots are good choices because they let air reach the roots.
Repotting Technique: Repot your Anthurium clarinervium every 2-3 years to refresh the soil and support its growing roots. When you repot, be gentle with the plant to protect its delicate roots. Gently remove it from its old pot and place it in the new one, filling the sides with the right soil mix.
“Proper soil and potting conditions are essential for the long-term health and vibrant growth of Anthurium clarinervium.”
By following these tips, you’ll give your Anthurium clarinervium the best chance to thrive. It will grow lush, velvet-like foliage and stunning flowers for many years.
Watering and Humidity Guidelines
Keeping your anthurium clarinervium, or velvet cardboard plant, happy is all about the right water and humidity. This beautiful plant loves moist soil but hates being too wet. Finding the right balance is essential.
Proper Watering Schedule
Check the soil’s top inch for dryness before watering your anthurium clarinervium. You’ll likely need to water it once or twice a week, depending on your area’s climate. Make sure the soil stays moist but avoid drowning the plant.
Humidity Management Tips
Your anthurium clarinervium prefers a humid environment, best between 60-80%. Here are some tips to help:
- Use a pebble tray: Place your plant’s pot on a tray filled with pebbles and water, allowing the evaporating water to increase the surrounding humidity.
- Install a humidifier: A small, dedicated humidifier can help maintain the optimal humidity levels around your anthurium clarinervium.
- Group plants together: Clustering your velvet cardboard plant with other humidity-loving plants can create a microclimate that benefits them all.
Signs of Water-Related Issues
Watch your anthurium clarinervium closely for signs of water problems:
- Wilting or drooping leaves may indicate underwatering.
- Yellow or brown leaves could signify overwatering or poor drainage.
- Leaf discoloration or spots can be a sign of both over- and underwatering.
By following these guidelines, you can ensure your anthurium clarinervium thrives. It will show off its beautiful, velvet-like leaves.
Fertilization and Nutrient Requirements
Proper fertilization is key for your anthurium clarinervium’s health and vibrant foliage. This plant needs a balanced mix of nutrients to grow well. Let’s look at how to fertilize and nourish your anthurium clarinervium.
Selecting the Right Fertilizer
Choose a balanced, water-soluble fertilizer made for tropical plants. A 20-20-20 NPK ratio is best. Stay away from harsh, chemical fertilizers to protect your plant’s roots.
Fertilization Frequency
Feed your anthurium clarinervium every two to three weeks in spring and summer. Cut back to once a month in winter. Always follow the fertilizer’s instructions to avoid over-fertilizing.
Signs of Nutrient Deficiencies
- Yellowing leaves may indicate a nitrogen deficiency.
- Stunted growth or leaf discoloration can signify a lack of phosphorus or potassium.
- Browning leaf tips or general leaf discoloration may point to a calcium or magnesium deficiency.
If you see these signs, change your fertilizing routine. Or, ask a local horticulturist for advice.
“Proper fertilization is the key to healthy, vibrant anthurium clarinervium plants. Follow the guidelines and keep a close eye on your plant’s nutrient needs.”

Understanding your anthurium clarinervium’s fertilization and nutrient needs is crucial. This ensures its long-term health and beauty. With proper care, this stunning plant will flourish in your space.
Propagation Methods for Anthurium Clarinervium
Expanding your collection of anthurium clarinervium is easy with different propagation techniques. Whether you’re new to plants or have experience, learning these methods can help you grow your own plants. You can even share them with other gardeners.
Division Technique
One simple way to propagate anthurium clarinervium is through division. This method involves separating the plant’s rhizome into sections. Each section has its own roots and growth point.
To divide your anthurium, gently remove it from its pot. Look for natural division points and separate the sections with a clean knife or pruners. Make sure each section has enough roots and plant them in good potting mix for new growth.
Stem Cutting Method
Stem cuttings are another effective way to propagate anthurium clarinervium. Choose a healthy, mature stem and cut just below a leaf node. Dip the cut end in rooting hormone to help roots grow.
Plant the cutting in well-draining potting mix. Keep the soil moist and provide bright, indirect light. New roots and growth should appear in 4-8 weeks.
Air Layering Approach
Air layering is a more advanced method for anthurium clarinervium. It creates a new root system on a stem while it’s still attached to the parent plant. Make a shallow cut in the stem and wrap it with damp sphagnum moss.
Secure the moss with plastic or a rooting hormone wrap. Once roots form, cut the stem below the rooted section and transplant the new plant.
These diverse propagation methods make it easy to multiply your anthurium clarinervium collection. You can share the love of this remarkable houseplant with others.
Common Pests and Diseases
Keeping your anthurium clarinervium healthy means watching out for pests and diseases. Knowing these threats and acting fast can help your plant stay beautiful.
Spider mites are a big worry for anthurium clarinervium. These tiny bugs suck the plant’s sap, causing leaves to turn color, get webbed, and fall off. Check your plant often and treat spider mites with insecticidal soap or neem oil.
Bacterial blight is another problem. It makes leaves turn yellow and get spots. To fight this, water right, keep air moving, and use fungicides.
- Spider mites: Inspect regularly and treat with insecticidal soap or neem oil
- Bacterial blight: Maintain proper watering, air circulation, and use fungicides
- Botrytis: Reduce humidity, improve air flow, and remove affected foliage
- Aphids: Monitor and remove manually or use insecticidal sprays
Botrytis is a fungal disease that can make leaves and flowers look gray and fuzzy. To stop it, cut down on humidity, get air moving, and take off any bad leaves.
Aphids are another pest that can harm your plant. They eat the sap and slow down growth. Watch for them and use sprays or remove them by hand.
By being careful and acting fast, you can keep your anthurium clarinervium healthy. It will show off its beautiful leaves for many years.

Pruning and Maintenance Tips
Keeping your Anthurium clarinervium looking great is easy with a few simple steps. A regular cleaning routine and adjusting care with the seasons are key. These tips will help your plant stay healthy and beautiful.
Regular Cleaning Routine
Start a cleaning routine to keep your Anthurium clarinervium in top shape. Use a damp cloth or a soft-bristled brush to wipe off dust. This makes your plant look better and helps it grow strong.
Seasonal Care Requirements
- In the growing season, give your plant lots of water and a balanced fertilizer. This supports its growth and color.
- When it gets cooler, water and fertilize less. This lets the plant rest and get ready for next year.
- Remove dead leaves and flowers. This helps the plant focus on growing new, healthy parts.
Follow these tips to keep your Anthurium clarinervium happy and thriving. It will bring a touch of tropical beauty to your home.
“Proper care and attention can transform an Anthurium clarinervium into a true showpiece in your home.”
Conclusion
The Anthurium clarinervium, or velvet cardboard plant, is a joy to grow. This guide has given you the knowledge to care for your velvet cardboard plant. Now, you can make sure it thrives in your home.
To succeed, know what your plant needs. This includes the right light, temperature, soil, and water. Also, a balanced diet and regular care are key. With effort, your Anthurium clarinervium will show off its beautiful, soft leaves.
Start your adventure with this tropical plant. Watch it grow and feel proud of your care. The Anthurium clarinervium will add beauty and a touch of the tropics to your home.

